
Subgroups
Subgroups allow Class Managers to provide private collaboration spaces for their members. In classes where learners are expected to gather and work together online, subgroups provide opportunities for managers to easily ensure optimal learning. All classes can benefit from the power of subgroups, particularly those focused on Active learning, Experiential learning, COIL, and Virtual Exchange classes!
Only members of a specific Class can access its Subgroups tab.
Only class managers and members of the subgroup can view a given subgroup.
In this article, you will learn about:
How to add Subgroups to your Class
Facilitating multi-institutional collaboration
How to move learners into their Subgroups
The features of a Subgroup
Subgroups are scaled-down versions of a Class and share some identical features:
A Conversation tab:
The Conversations Tab provides a space for free and open conversation in threads with scaffolded replies between Subgroup members. (Learn more about Conversations)
A Publications tab:
Publications associated with the Subgroup are organized on the Publications tab. A Subgroup member can publish a piece and associate it with a Subgroup. (Learn more about Publications)
A Resources tab:
In the Resources tab, Subgroup members can share documents and files, videos, recordings of lectures, and assignments. The Subgroup members will be able to add and manage the Resources tab and only the members of the subgroup will be able to view and access resources. In a Subgroup, all members can add resources. (Learn more about Resources)
A Members tab:
The Members tab is where Educators and learners can see who’s in that Subgroup.
How to add Subgroups to your Class
Adding Subgroups to your class is very easy!
First, please note that no subgroups are visible to class members until you decide to activate the Subgroups. To activate the groups, and make the available to members of the class, you will find a toggle at the bottom of the page:

But activating is not setting things in stone! Even after subgroups activated, class managers can still move members around.
Now, to add Subgroups to your class, simply go to the Subgroups tab:
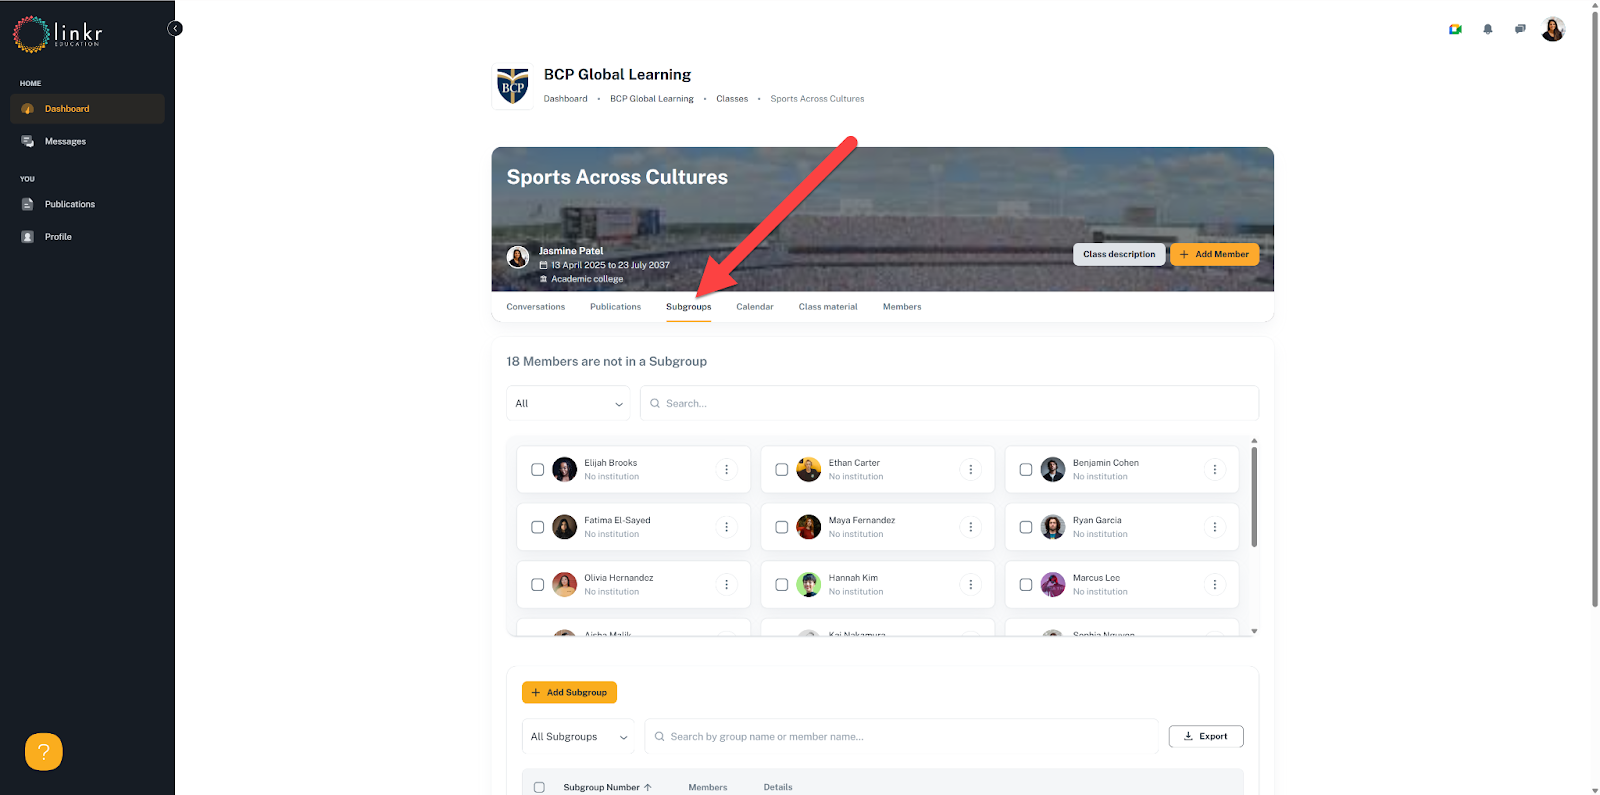
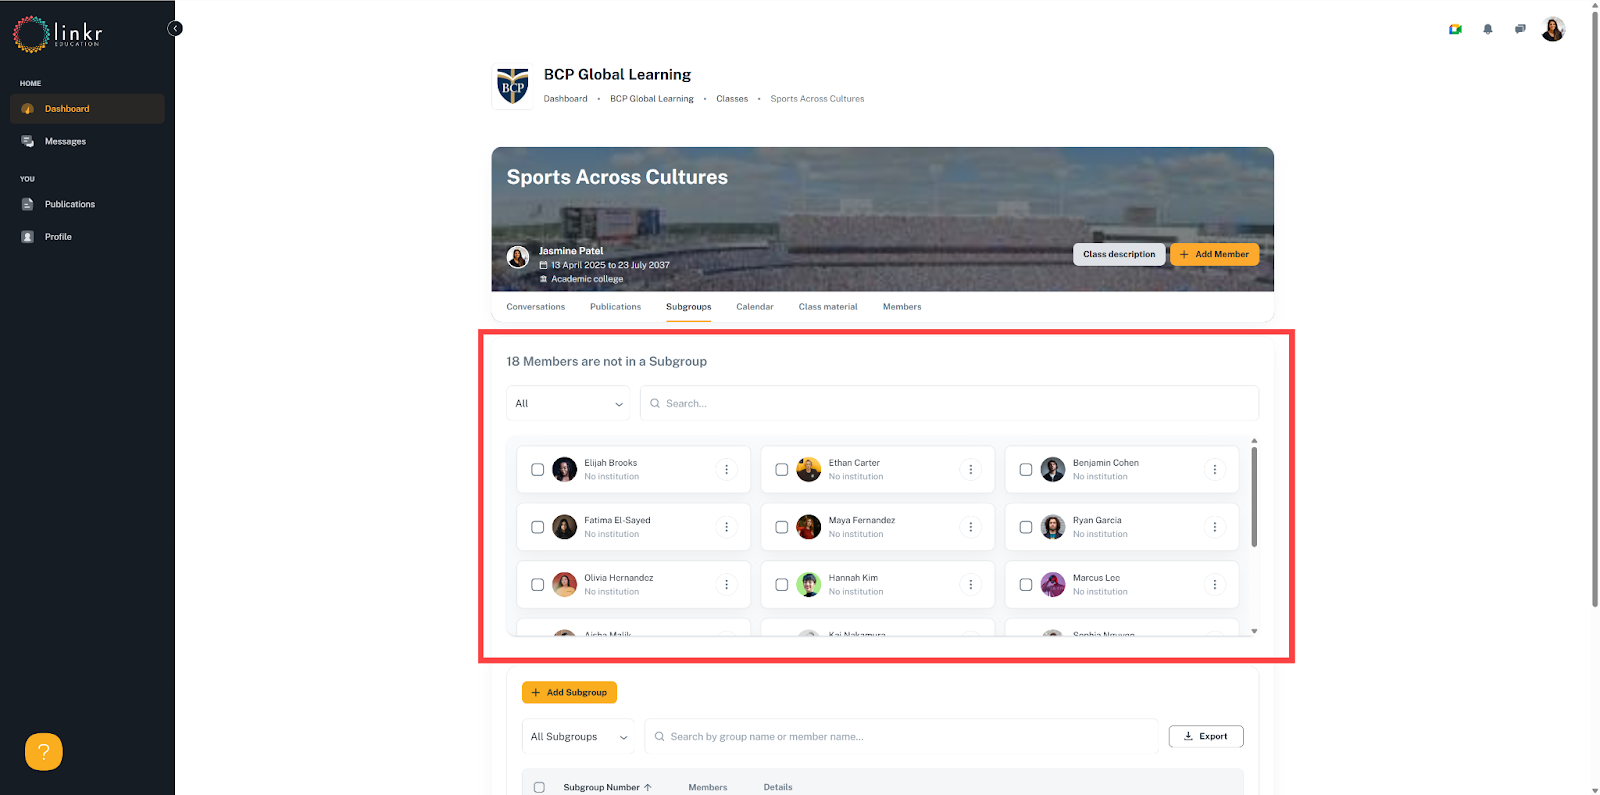
You will see that all the members of your class, excluding the class manager(s), are already there in the first section of the Subgroups tab:
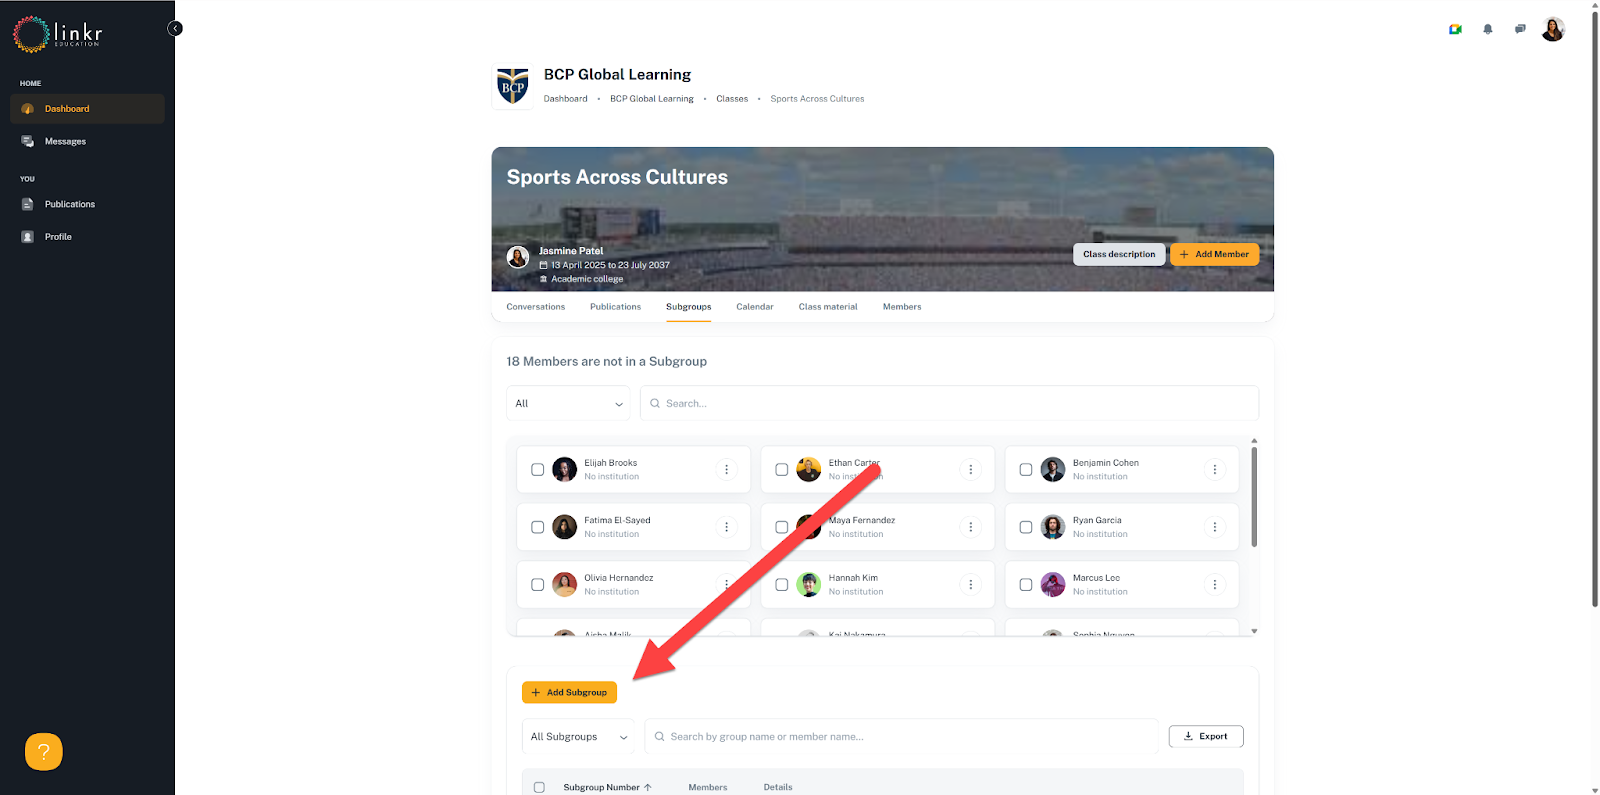
Let’s start by adding four Subgroups to this class! Since we have 18 learners, we’ll have two groups of five students and two groups of four.
To create these four groups, we’ll simply click four times in a row on the “+ Add subgroup” button at the top of the second section:
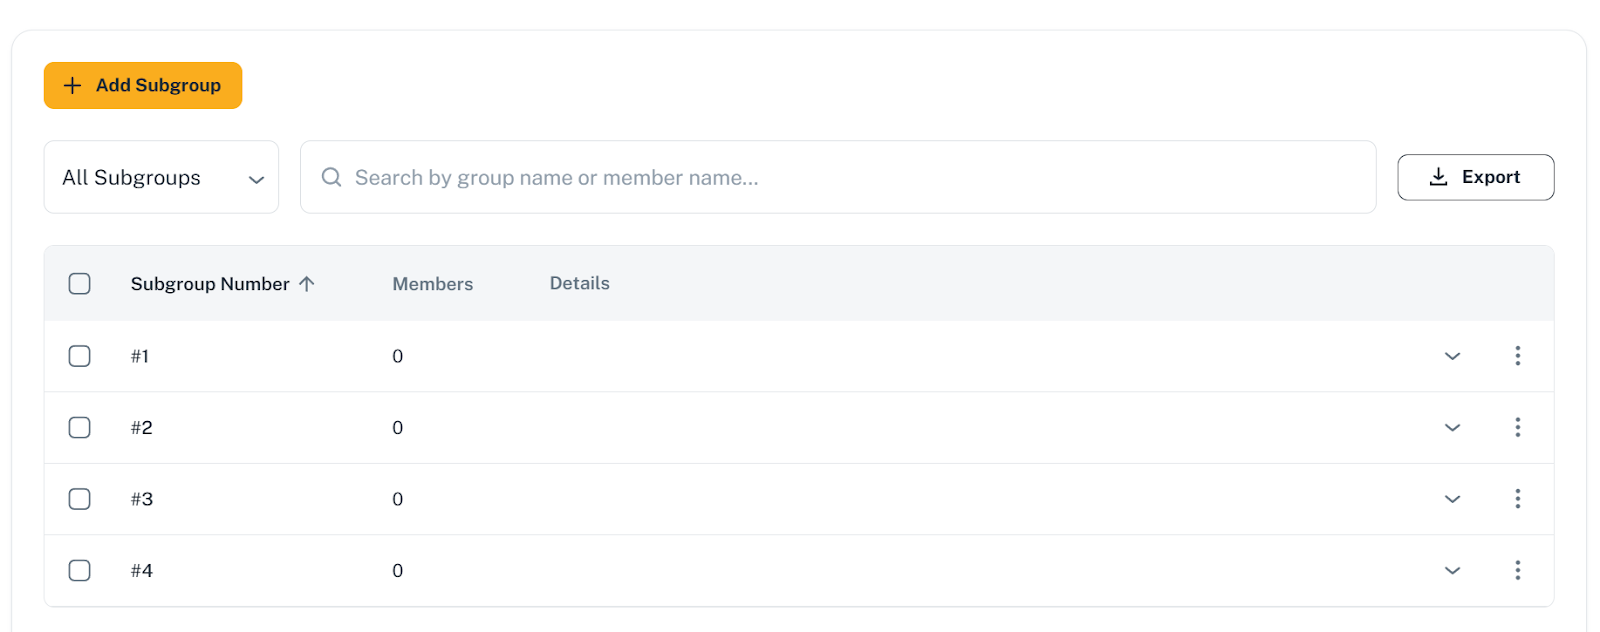
This will be the result, four empty Subgroups ready to welcome learners:
Facilitating multi-institutional collaboration
To make it easier for Class managers to create multi-institutional Subgroups with let’s say, a few members of each institution in each Subgroup for a Virtual exchange, COIL, or Experiential learning project, the learner cards will show their institution or origin if it’s filled in their respective Linkr profiles:
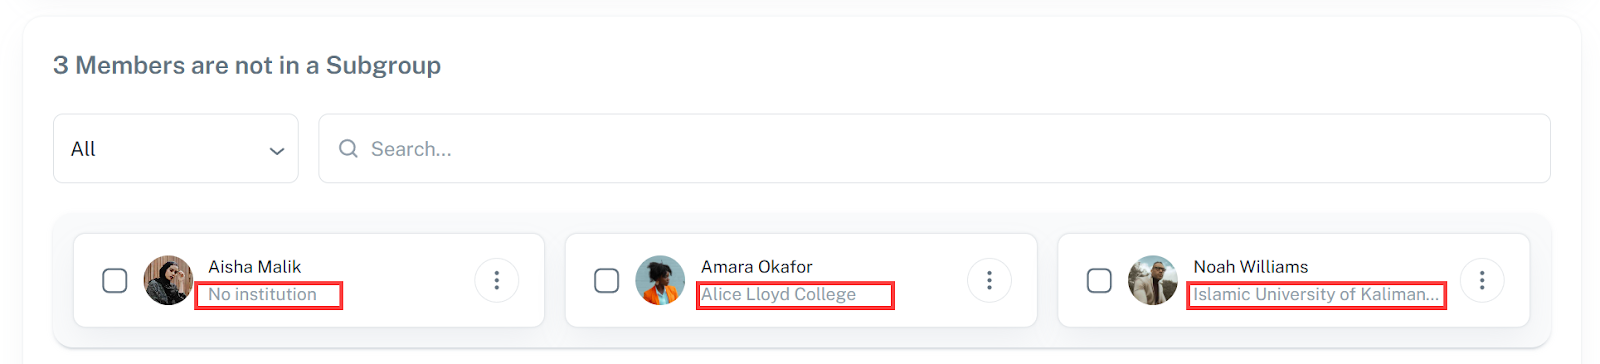
This will allow the Class managers to use the filter option at the top of the first section of the page to filter the learners by their institution of origin:

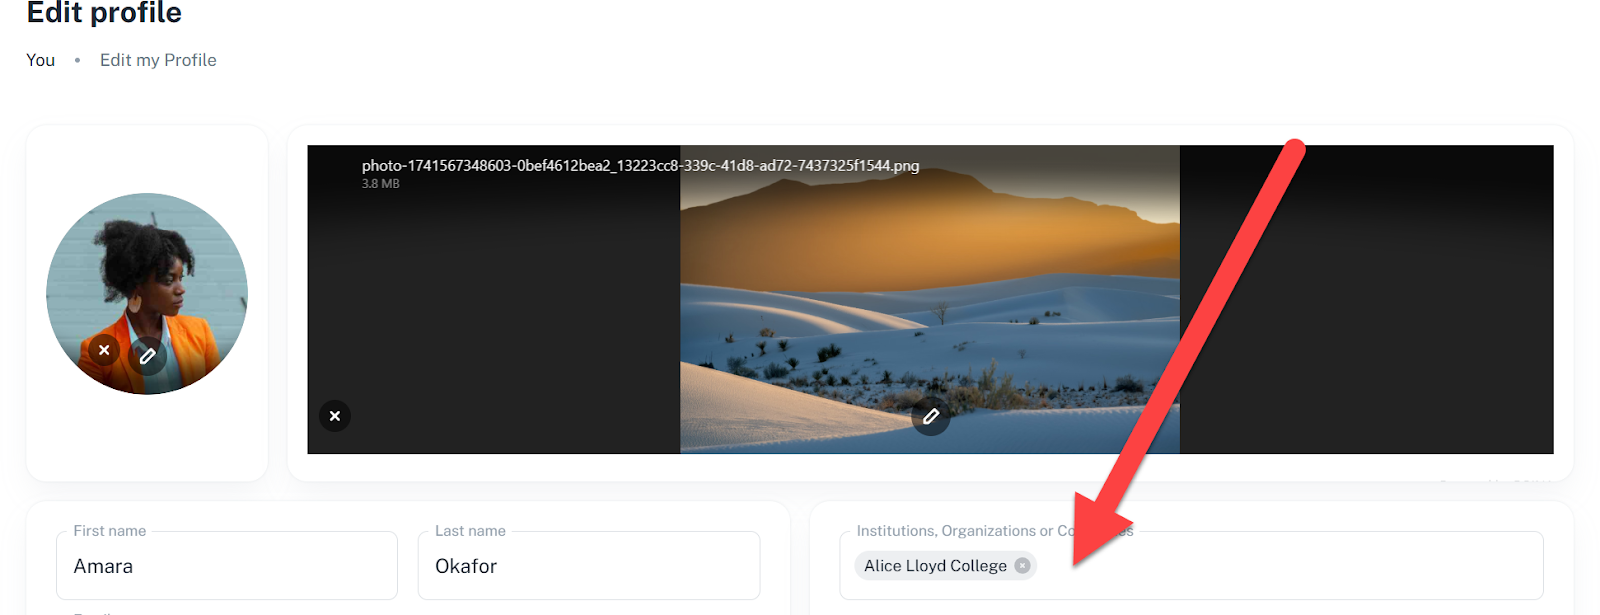
If you want to be able to use this functionality, please make sure that your learners correctly fill their Linkr profile with the name of the institution:
How to move learners into their Subgroups
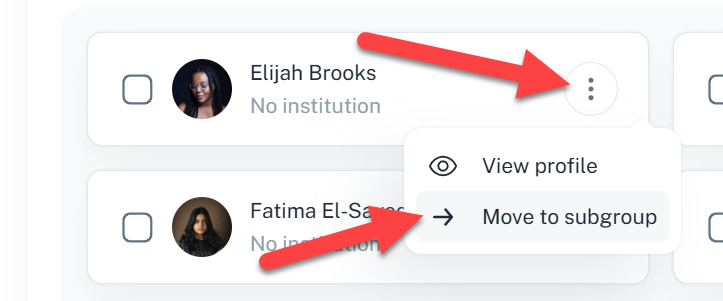
Moving learners into Subgroups, and from one Subgroup to another is very easy!
We can do it one learner at a time, by selecting members and moving them to a Subgroup by clicking on the three dots menu at the right of their little card:
A window will appear to allow you to either move them into an existing Subgroup:
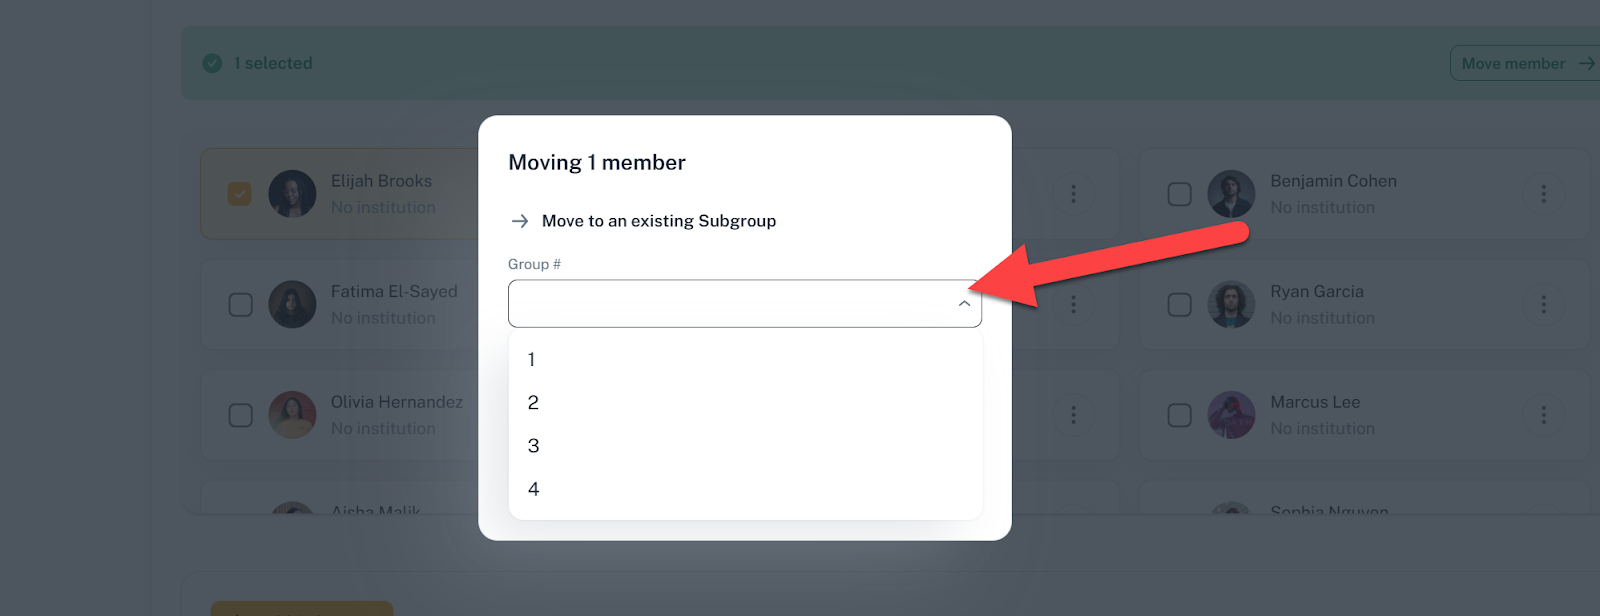
But it is also possible to create a new Subgroup for them by selecting “Move to a new Subgroup”:
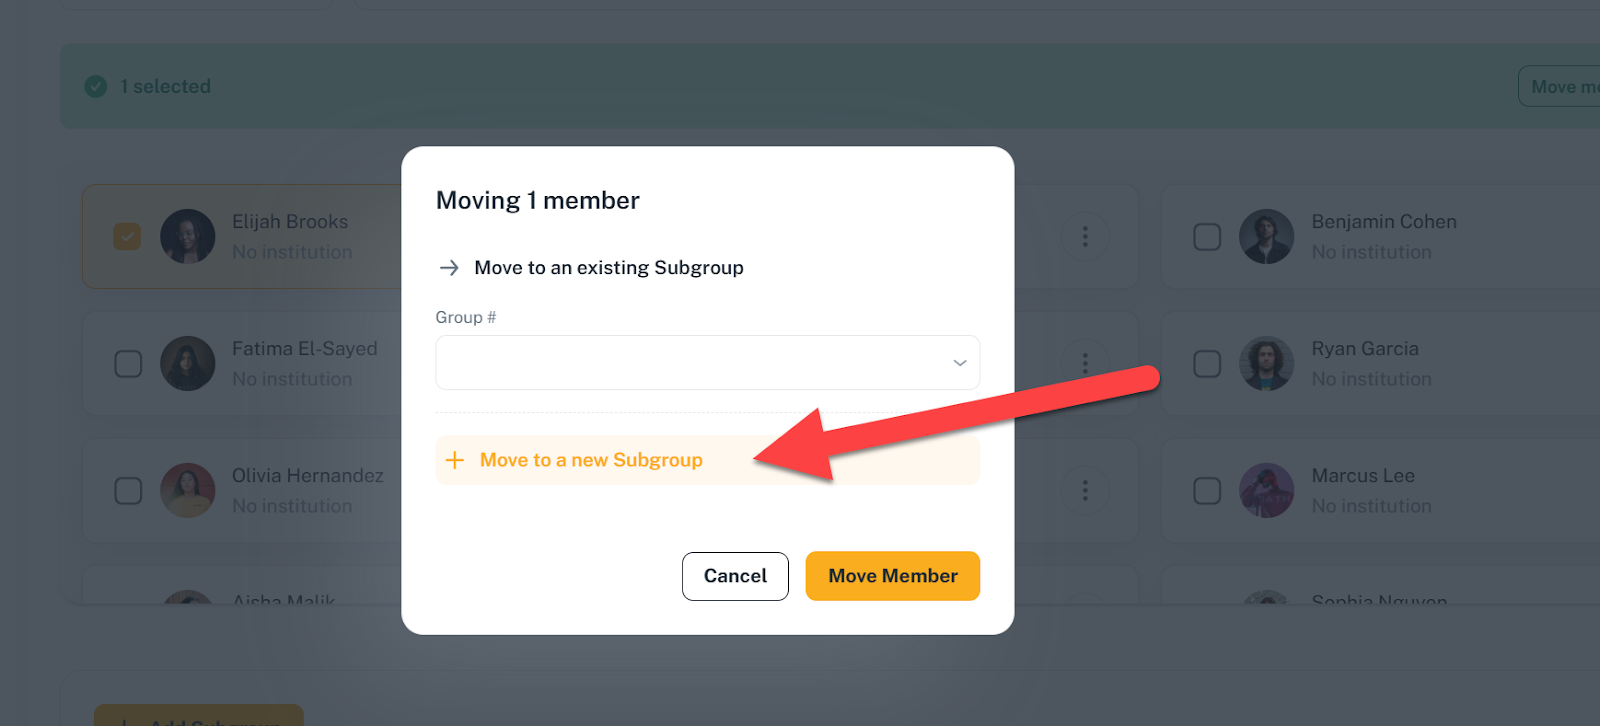
Once you’re ready, Click on “Move Member”

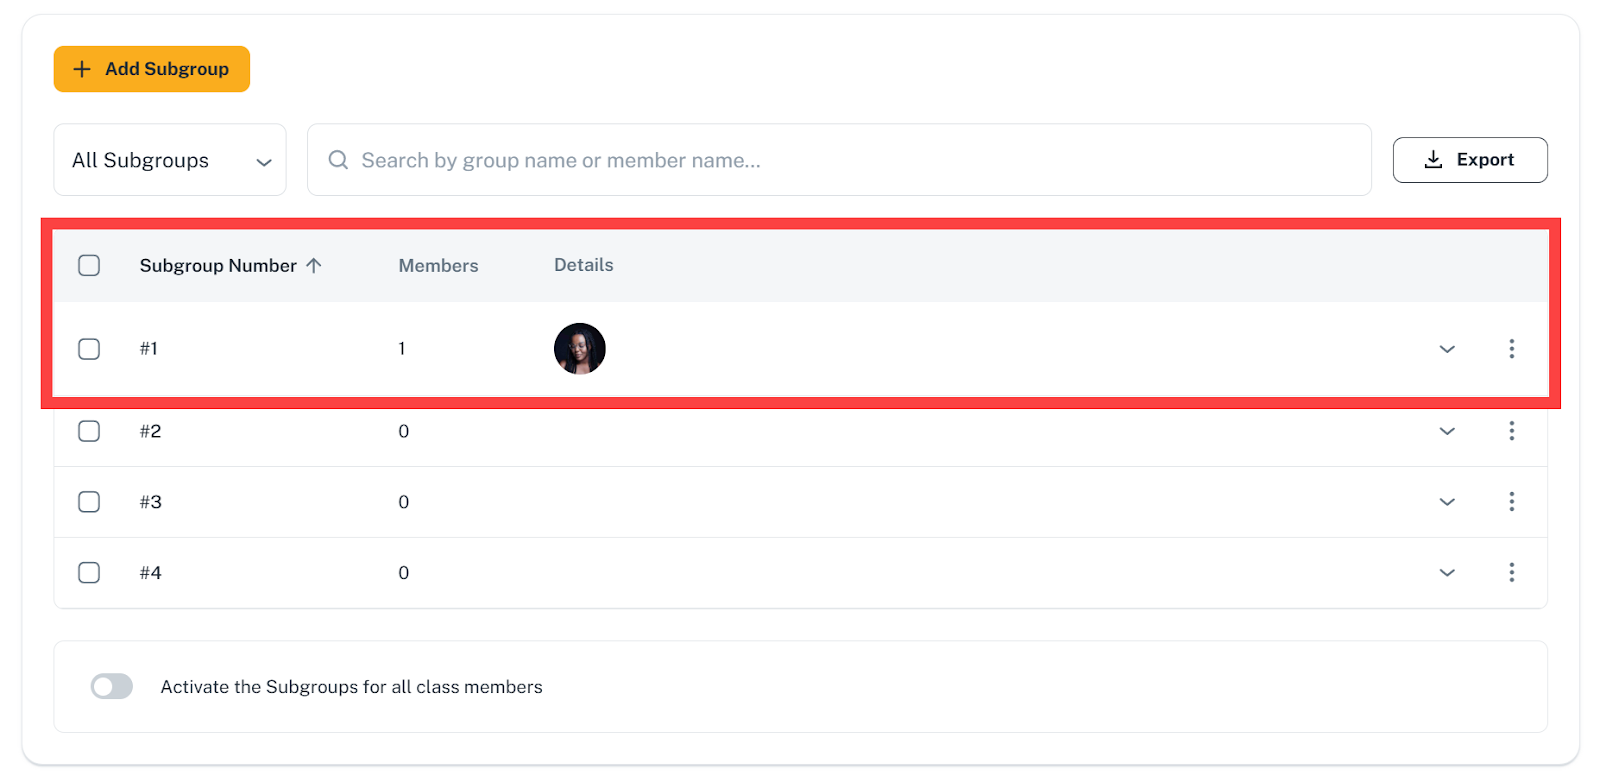
A message will appear at the top of the screen to inform you that the action is successful:

And you will be able to see that learner in the Subgroup you selected in the second section of the page:
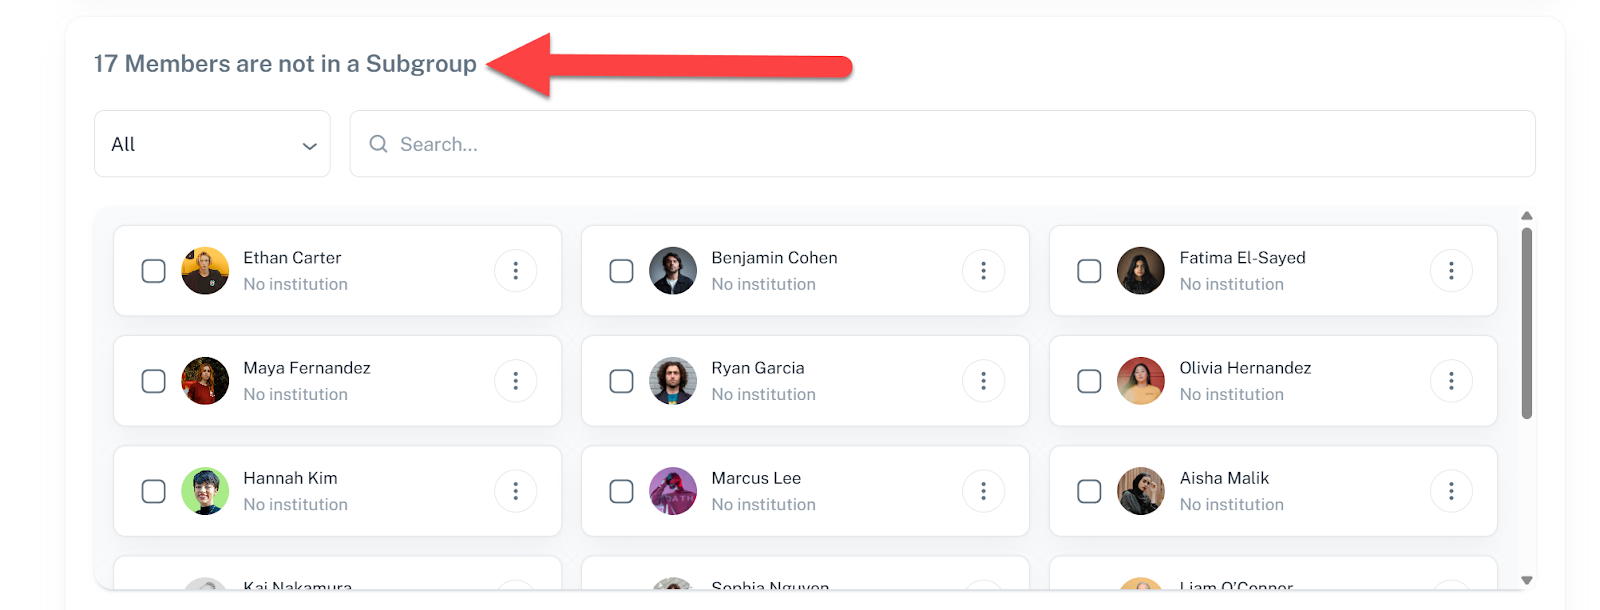
Now that we know how to move learners one at a time, we can streamline the process!
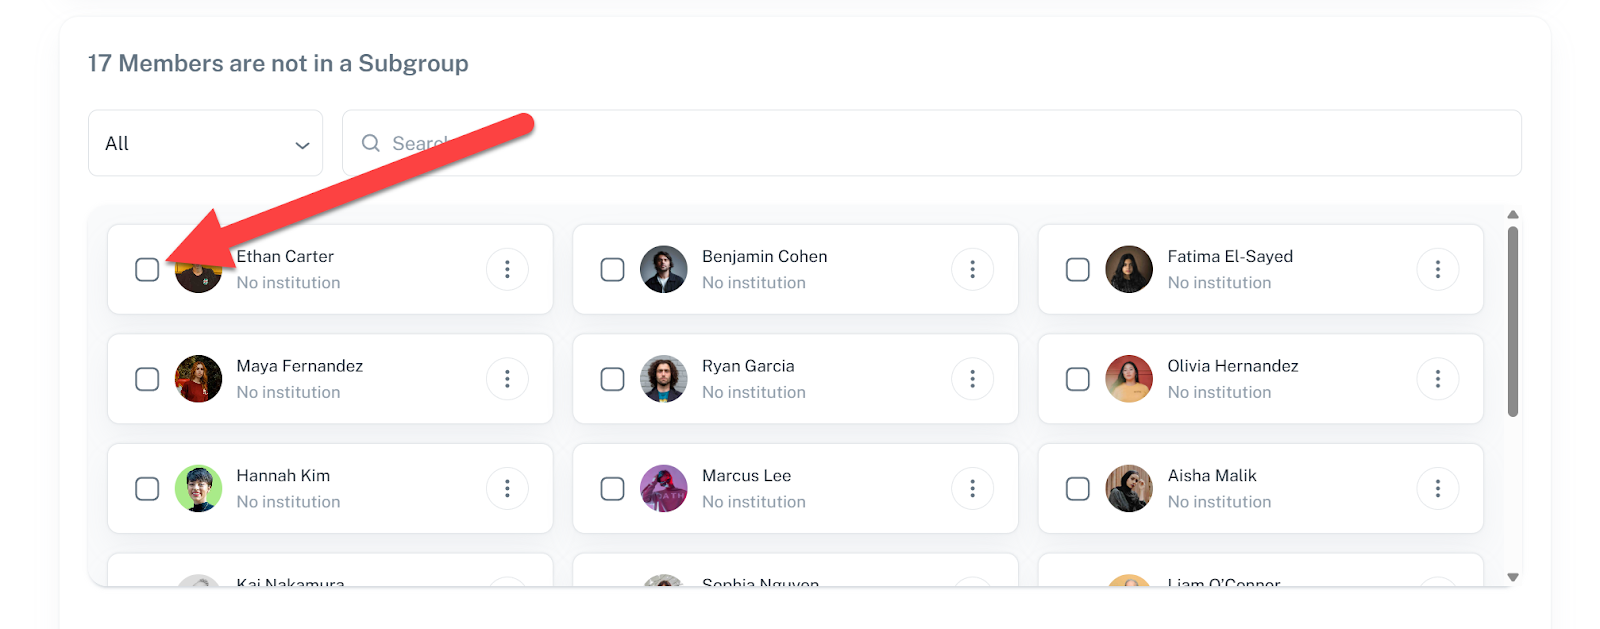
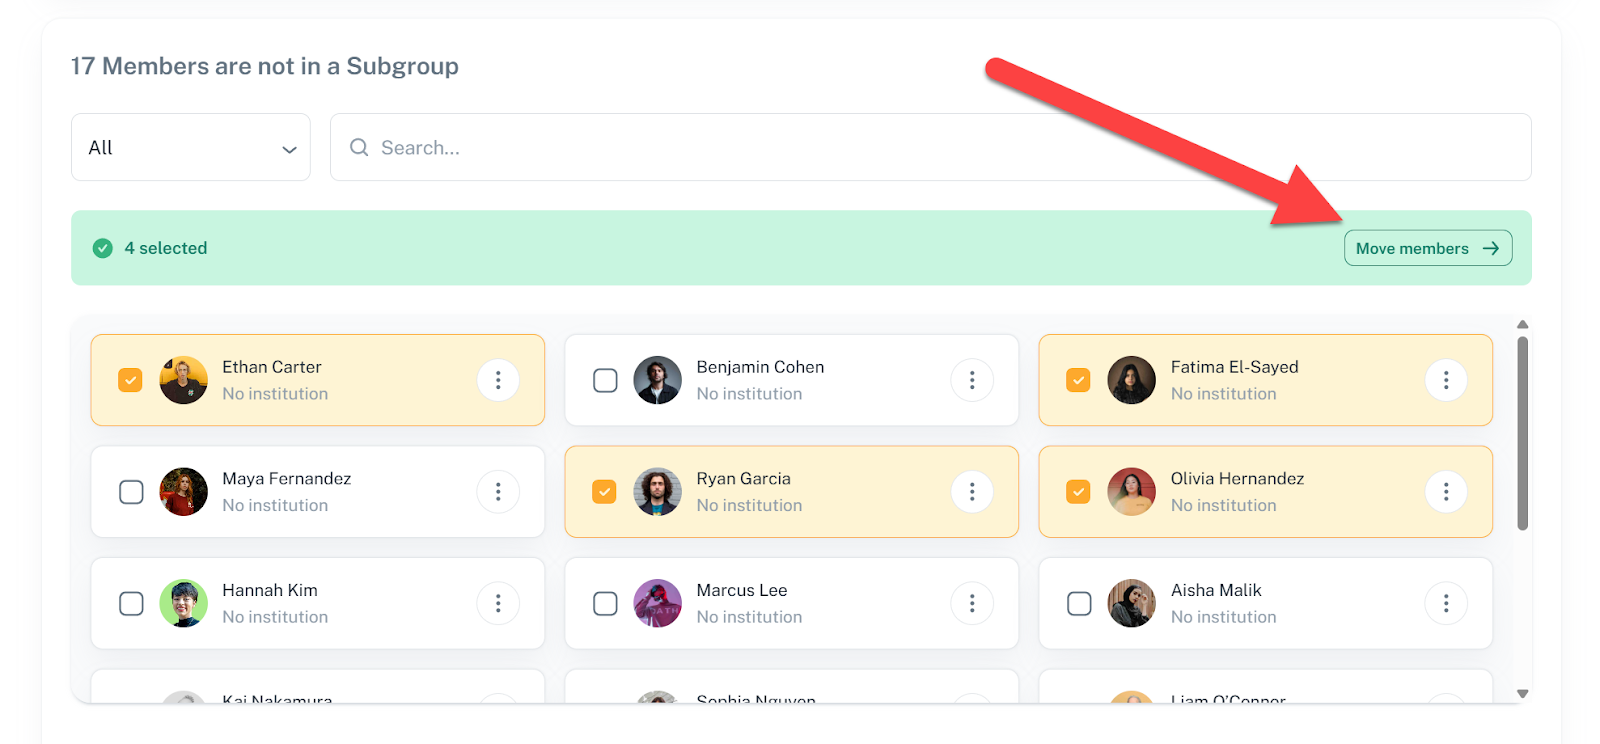
Let’s go back to the first section, where we can see that we now have 17 learners not in Subgroup yet:
You will now click on the checkbox on the left side of their little card to select four of them:
It will end up like this selection, and then you will only have to click on the “Move members” button:
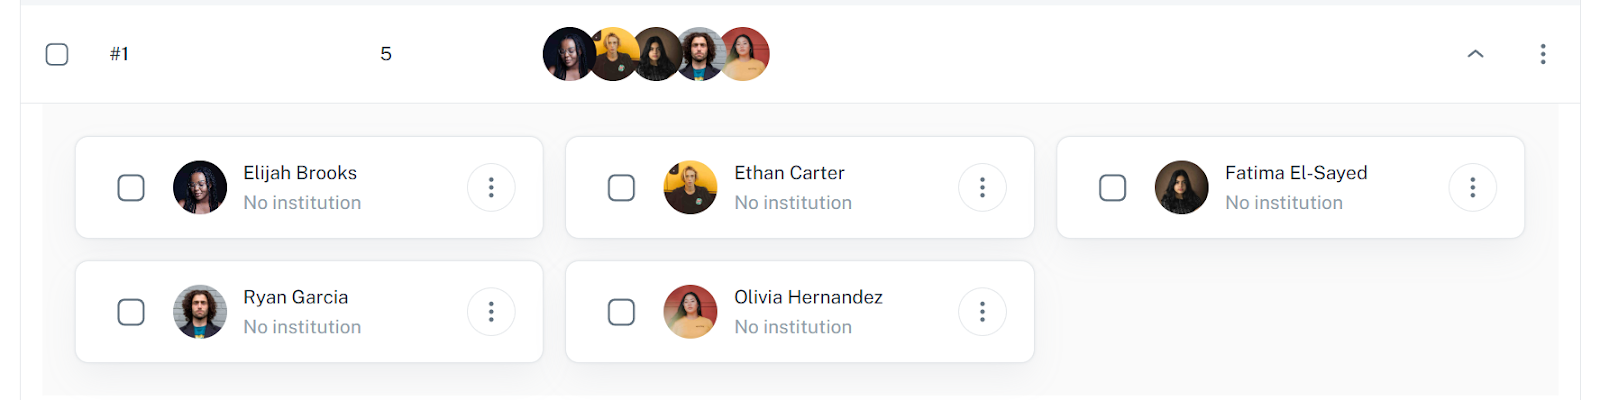
Let’s put them into our Group #1 again and it will end up like this:

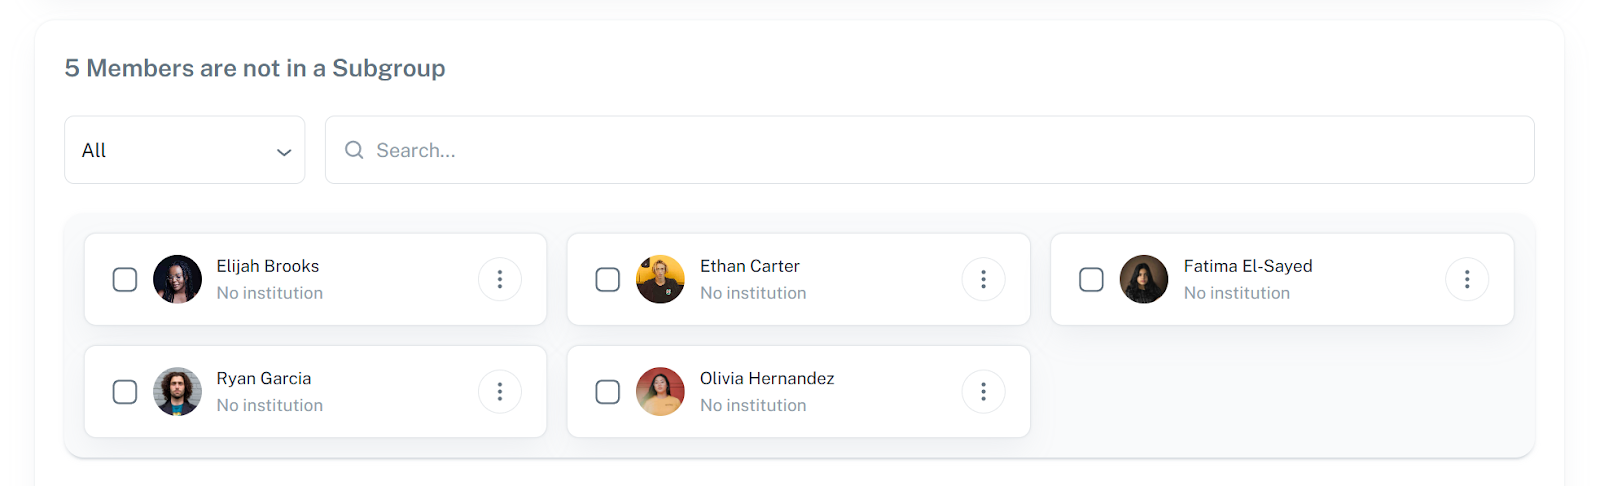
You can now "rinse and repeat" for the other groups, which in the end will look like this, with all your learners in their respective groups and no learner “Not in a Subgroup” left at the top of the page:

If you’re satisfied and it’s the right time, you can go ahead and activate the Subgroups by clicking on the Activation toggle at the bottom of the page:

But there is no hurry and you can do that at any time. Also please keep in mind that you can interrupt your Subgroup building at any time and pick it up later, your progress will be saved after any action you take.
Managing existing Subgroups
Managing existing Subgroups is very easy!
First, clicking on the “Down arrow” will let you see more details about the Subgroup composition:

As you’ll be able to see all the members cards, which will allow you to move them around later if needed, the exact same way you put them in their Subgroup:
If you click on the 3 dots menu at the right of a subgroup, you’ll be able to delete that Subgroup. Before the deletion happens, you will be asked to confirm that decision, which cannot be undone:

Once that Subgroup is deleted, all its members will be brought back to the first section of the page that contains all “Members not in a Subgroup”:
The only negative consequence is that the deleted Subgroup number will not be available anymore, and if you delete Subgroup #1 out of four Subgroups, then add another one, it will be labeled Subgroup #5. The only way to “reset” the numbering will be to delete all existing Subgroups and to restart the process from the beginning.